
How to Install phproject on OpenShift
![]()
Phproject is a free and open source project management software, it allows its user assigned projects, and tasks, as well as create new ones. Projects can be sorted and moved into customizable sprints from a simple drag-and-drop interface. If you would like to install Phporject for free then this post is for you.
This guide will present a step by step tutorial on how to install Phproject on OpenShift, the only skill you’ll need during the tutorial is your ability to use a web browser.
Requirements
- A free OpenShift account, visit OpenShift website and register using your email, no credit card is required.


Steps
- After registering; go to OpenShift home page and click on the “MY APPS” on the top of the screen.

- You’ll be directed to your login window and enter your credentials, you’ll be directed to a new window click on the blue “Create your first application now” link.

- You’ll be directed to a window, type “PHP, MySQL” in the search field, and select the application shown below in the screenshot.

- You’ll be directed to a new window, in the public URL; type the name of the project/application name (e.g. MyProject, MyAwesomeProject, etc.) in the first space and the domain name (it’s not your real domain name, just any identification name e.g. NickName, YourName) in the second space.

- Under the public URL, there’s the source code field, just copy and paste the following link “https://github.com/Alanaktion/phproject.git”
- Leave everything as it’s and click on “Create Application” tab at the end of the page.

- You shall be directed to a new window where you shall find all of your “MySQL” credentials.

- You’ll be directed to the main window, and it’s time to go to your “portal” and start the installation process, to do that simply click on the blue link at the top of the window (that’s your URL).

- You’ll be directed to the “Phproject” installation window, in this window, you should create your login credentials; username, password, and email. You’ll also need to enter your MySQL credentials “password, database username, database password”, you can get this data from step “7”.

- In that window, you should provide your database credentials, there’s a small trick here which is getting your database “Host Server”, the easiest way to do so is to return to your application (step 8) and click on the small arrow at the phpMyAdmin tab.

- A new window will pop up, copy the number shown in the screenshot below.

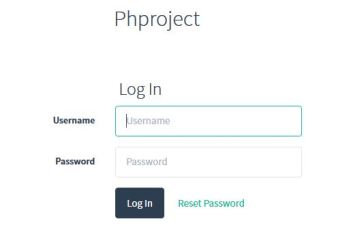
- You’ll then be directed to the login window, use the email and password you’ve used in step 9.


Finally, you’ll be directed to your portal’s main page.

Congratulations, now, you have a fully functional Phproject portal running for free on OpenShift.